Chapter 4: Virtual Environment Development
4.1 Workflows of Developing Your Virtual Scenes
First, to make a virtual scene, we need to determine the basic style of the scene, because style determines the choice of material texture when making a scene.
In the second step, the ideal shooting angle and object distribution of the scene are determined. When constructing a virtual scene, the wrong object distribution often makes the visual effect of the scene greatly reduced. At the same time, a clear example of the scene diagram will make the virtual scene production more convenient and fast.
The third step is to build the basic framework of the virtual scene. When making a virtual scene, not all the materials or materials need to be made by ourselves or found on the Internet. A maker can start by constructing an abstract virtual scene using basic shapes and models (such as cylinders for people, cuboids for walls or tables). The advantage of this is that it allows the producer to quickly build a mental picture of the actual scene that needs to be made, and at the same time, it is convenient for the stakeholders to correct the position of some objects.
The fourth step is to find or create the assets. In most cases, the assets you can find on sites like Fab are good enough, but not enough to fully meet the needs of the scene. Therefore, what we need is to improve the material through secondary modeling modification on the basis of the original material, which requires the producer to have the ability to use modeling software, such as Blender. At the same time, the UE 5 version has added modeling mode, and some versions may need to download built-in plug-ins to use.
The fifth step is to put in those materials and set the material (or decal) to make it achieve the initial visual effect. Up until this point, we can ignore the material effect. It’s better if the source material has the right material, and if it doesn’t, that’s fine. Because in this step, we will make and distribute the material uniformly.
The last step, the sixth, is to check how the scene looks on a real LED screen. We may need to fine-tune the position and size of the objects. It’s also important to pay attention to the source file path and configuration compatibility in different UE versions.
4.2 Tutorial of Developing a Virtual Environment
This is followed by an example step of placing a wall:
4.2.1 Creating a Wall Model Using Modeling Software
- Open Modeling Software: Launch your preferred 3D modeling tool (e.g., Blender, 3ds Max, etc.)
- Create Basic Geometry:
- Select the Cube tool and create a rectangular prism.
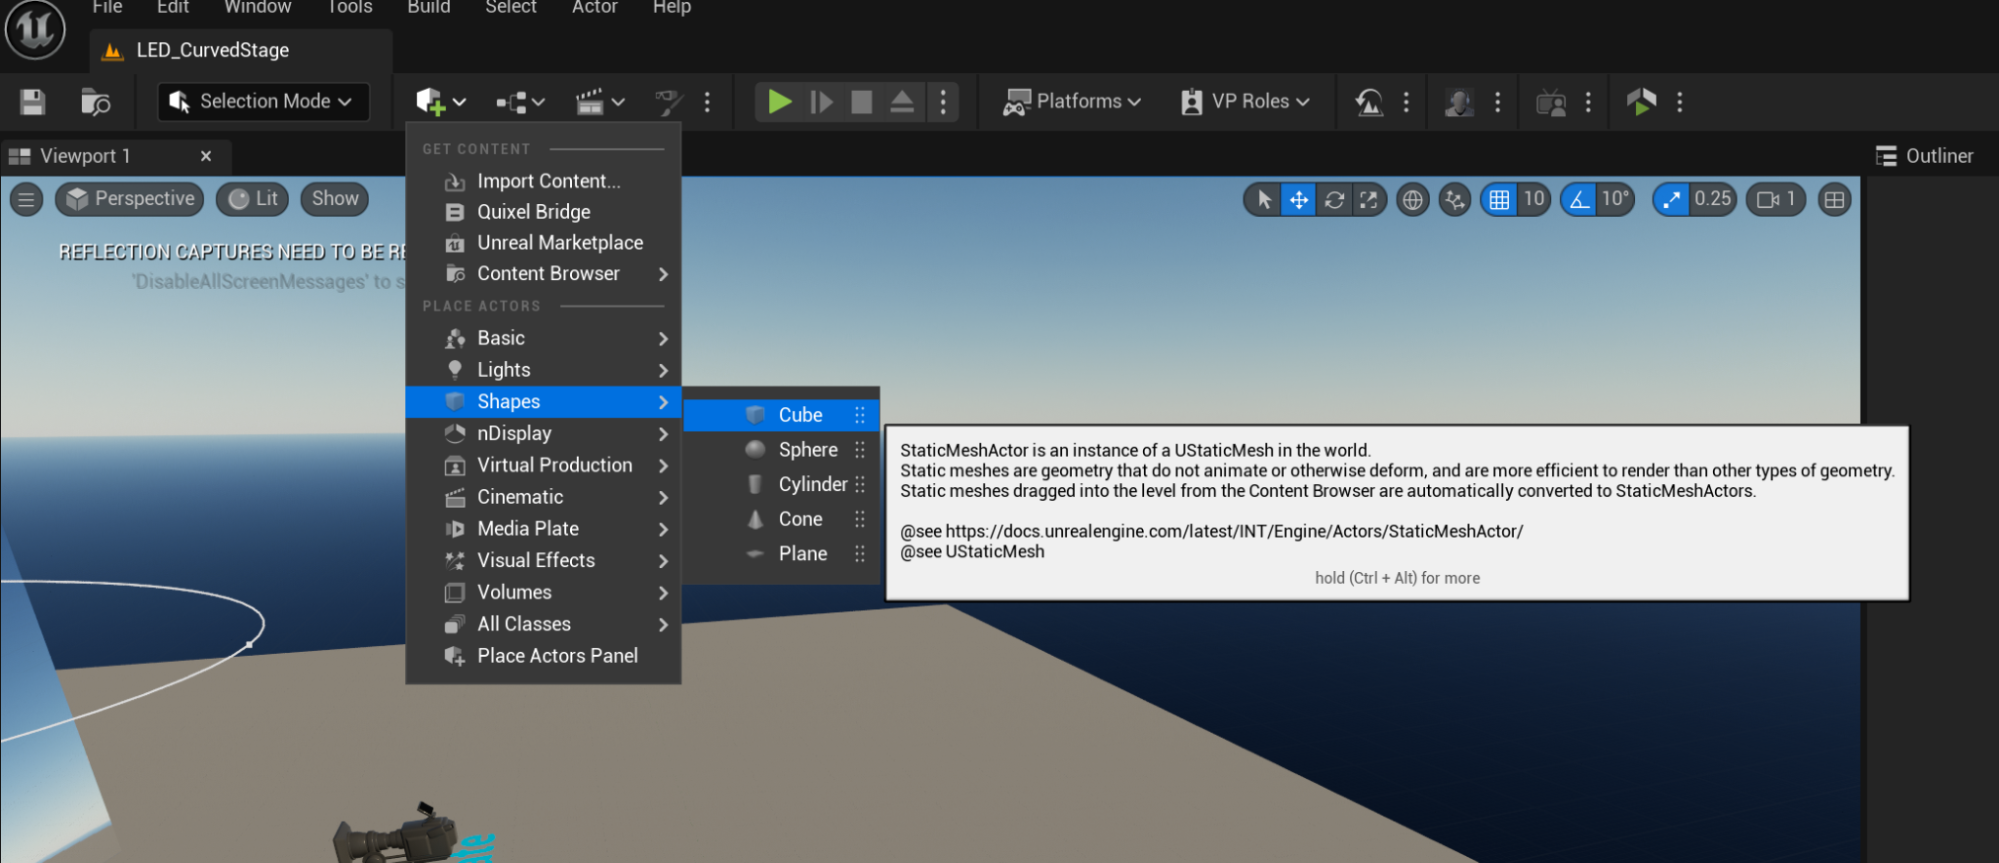
- Adjust the dimensions to match the wall’s real-world size (e.g., height 300cm, thickness 20cm, length as needed).
- Select the Cube tool and create a rectangular prism.
- Refine the Model:
- If door or window openings are needed, use Boolean operations to cut the wall.
- Ensure the model’s topology is clean and avoid excessive polygons.
- UV Unwrapping:
- Create UV maps for the wall model to ensure proper material application in UE5.
- Export the Model:
- Export the model in FBX format (ensure “Smoothing Groups” and “Embed Textures” are checked).
4.2.2 Importing the Wall Model into UE5
- Open UE5 Project:
- Launch Unreal Engine 5 and open your project or create a new one.
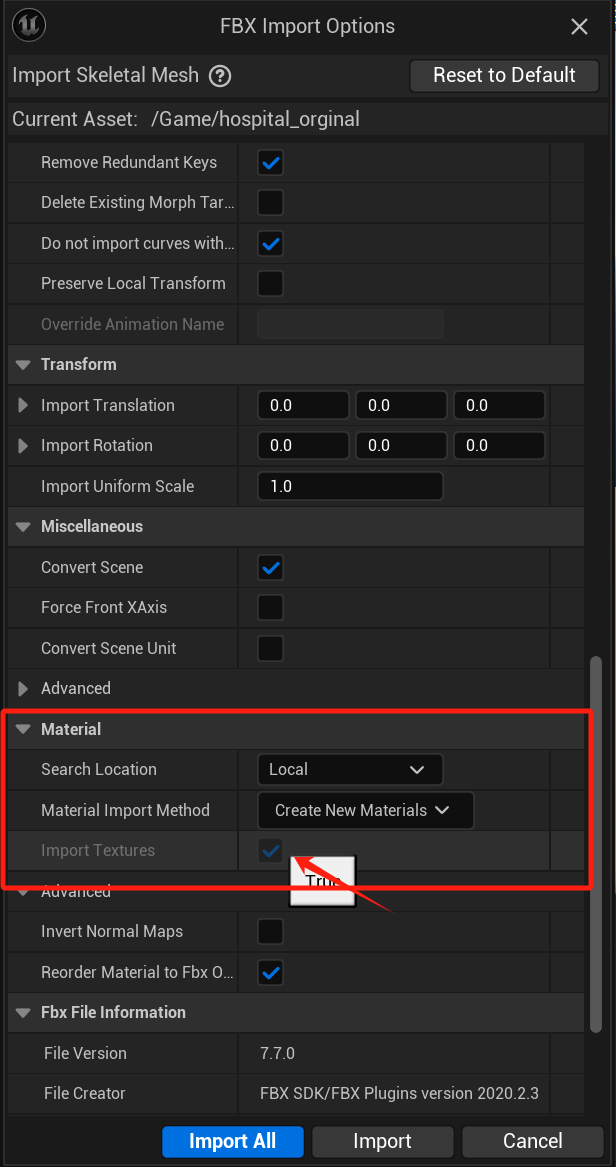
- Import the Model:
- Right-click in the Content Browser and select “Import to /Game.”
- Choose the exported FBX file and click “Open.”
- Set Import Options:
- In the import window, ensure “Import Materials” and “Import Textures” are checked.
- Adjust other settings as needed (e.g., scale, rotation).
- Click “Import” to complete the process.
4.2.3 Placing the Wall Model
- Drag into the Scene:
- Locate the imported wall model in the Content Browser and drag it into the scene.
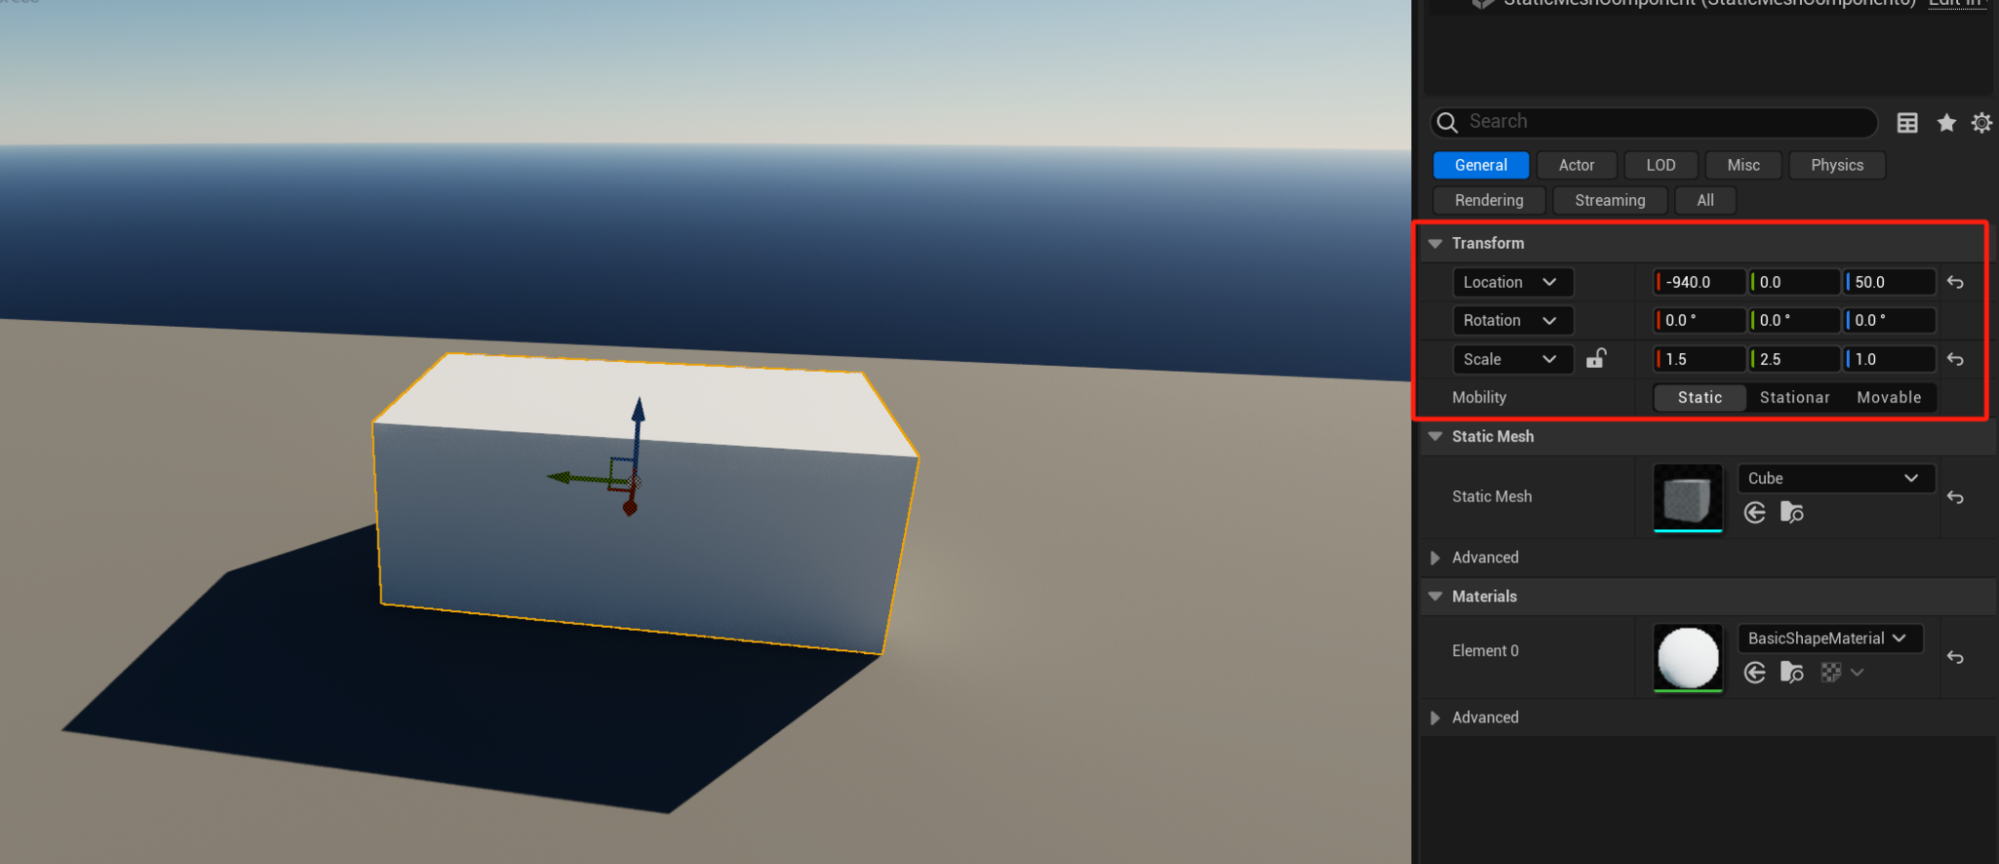
- Adjust Position and Rotation:
- Use the Move tool (shortcut: W) to position the wall.
- Use the Rotate tool (shortcut: E) to adjust the wall’s orientation.
- Use the Scale tool (shortcut: R) to resize the wall if necessary.
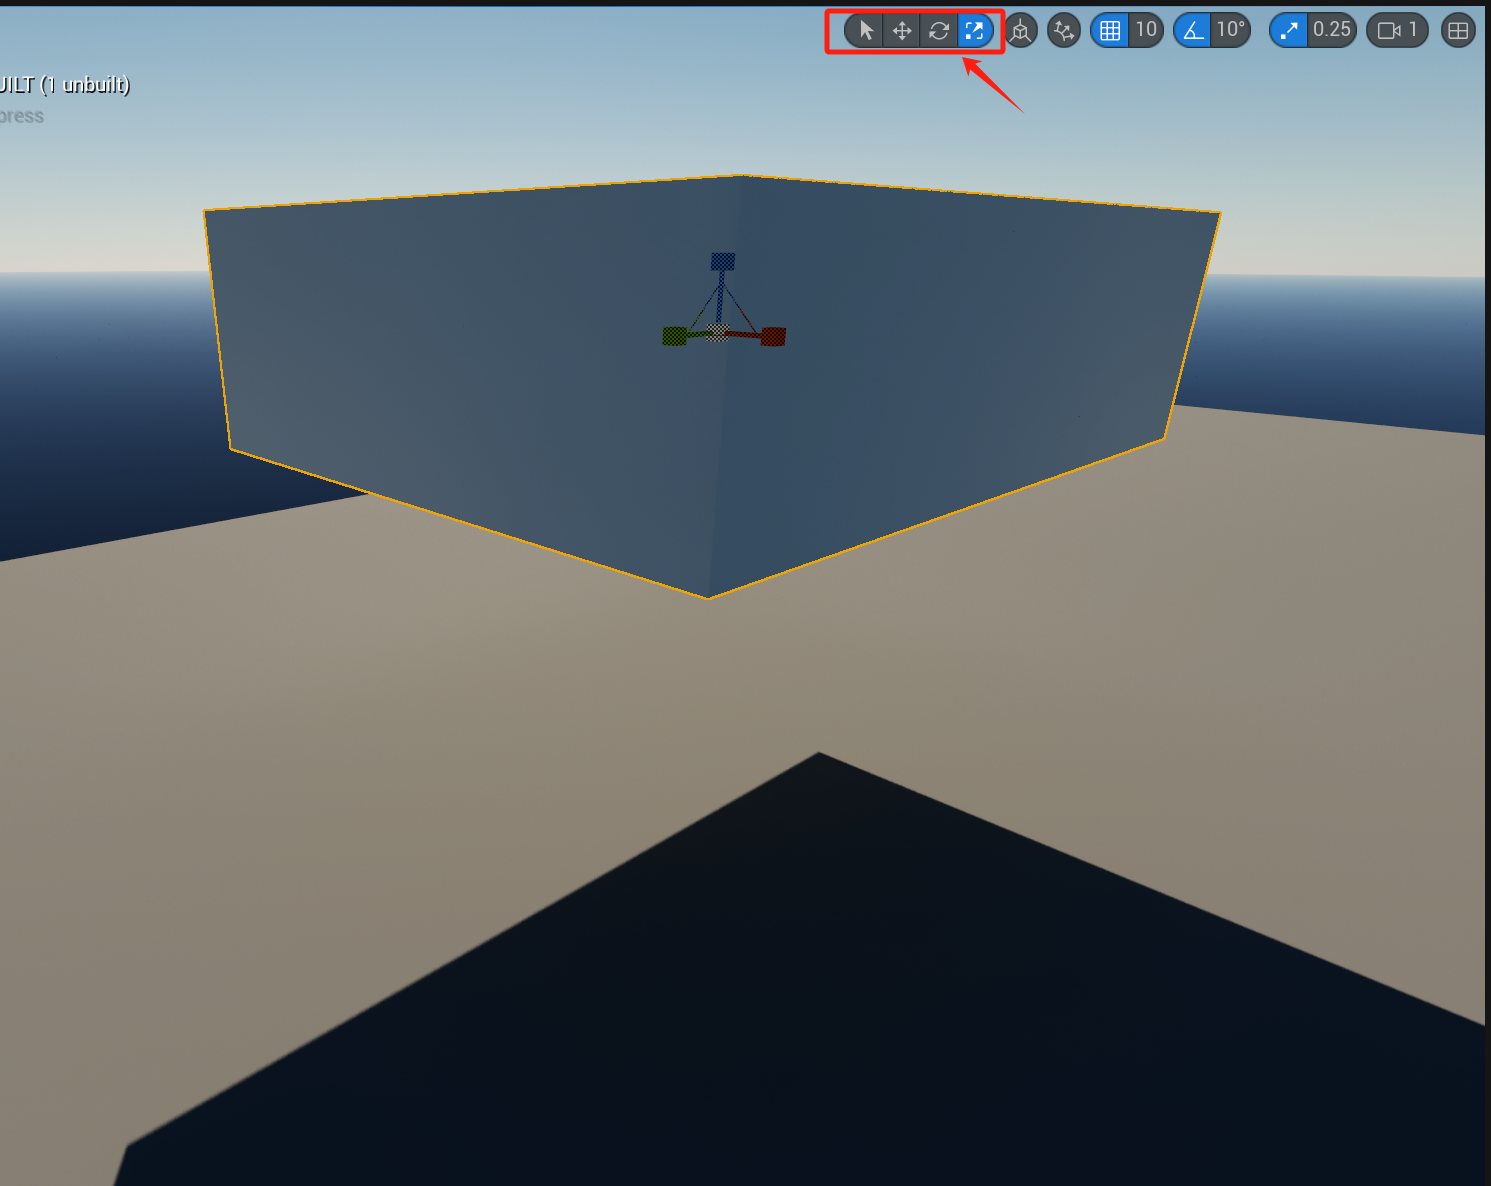
- Align to the Ground:
- Select the wall and press the End key to align it to the ground.
- If the End key doesn’t work, manually adjust the Z-axis position or use snapping (hold V and drag vertices to align).
- Duplicate and Arrange:
- Hold Alt and drag the wall to quickly duplicate and arrange multiple walls.
- Use grid snapping (shortcut: Ctrl) to ensure proper alignment between walls.
4.2.4 Adding Materials
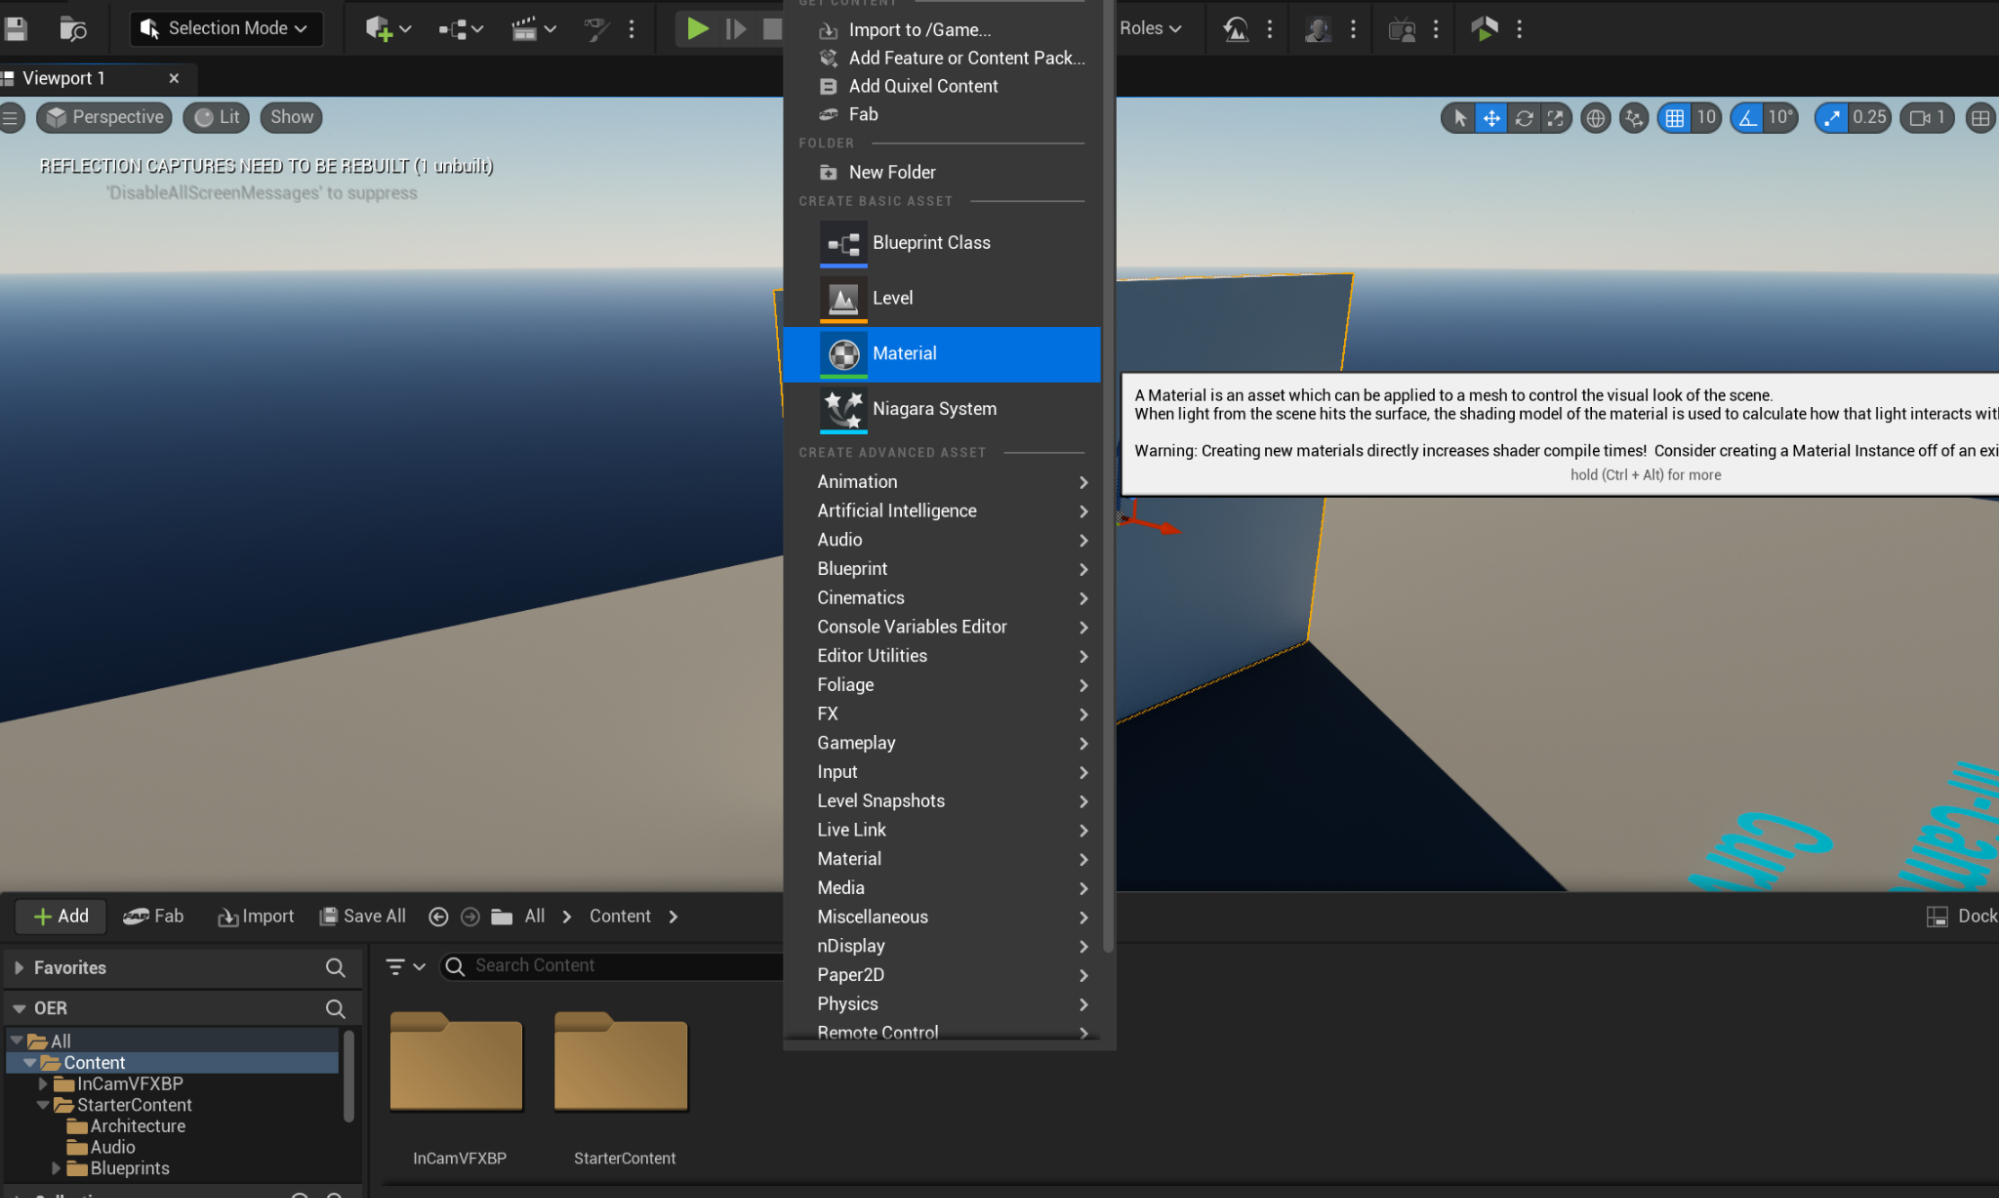
- Create a Material:
- Right-click in the Content Browser and select “Material” to create a new material.
- Name the material (e.g., “Wall_Material”).
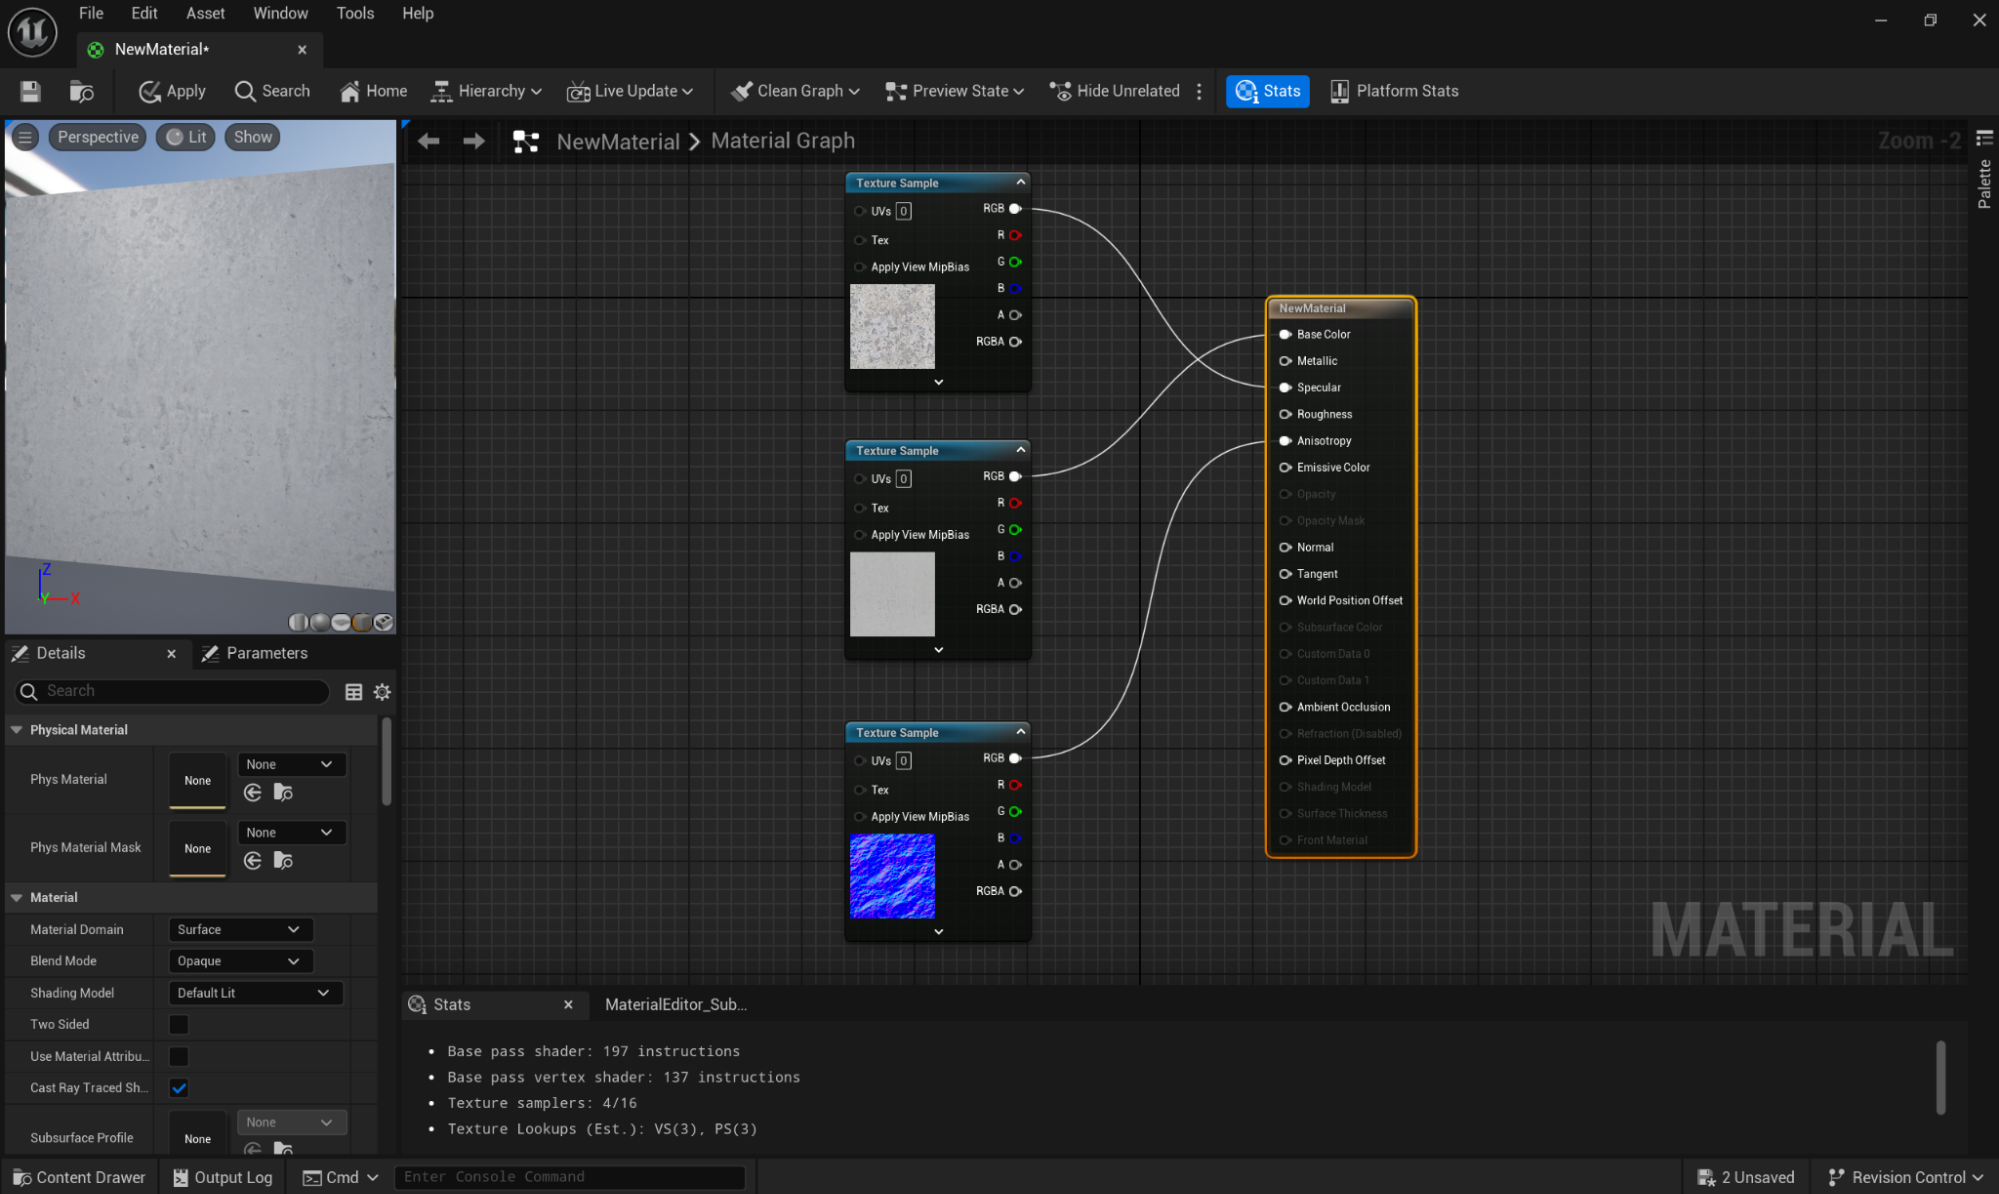
- Edit the Material:
- Double-click to open the Material Editor.
- Add a Texture Sample node and import wall textures (e.g., diffuse, normal, roughness).
- Connect the texture nodes to the material’s Base Color, Normal, and Roughness inputs.
- Adjust material parameters (e.g., color, glossiness).
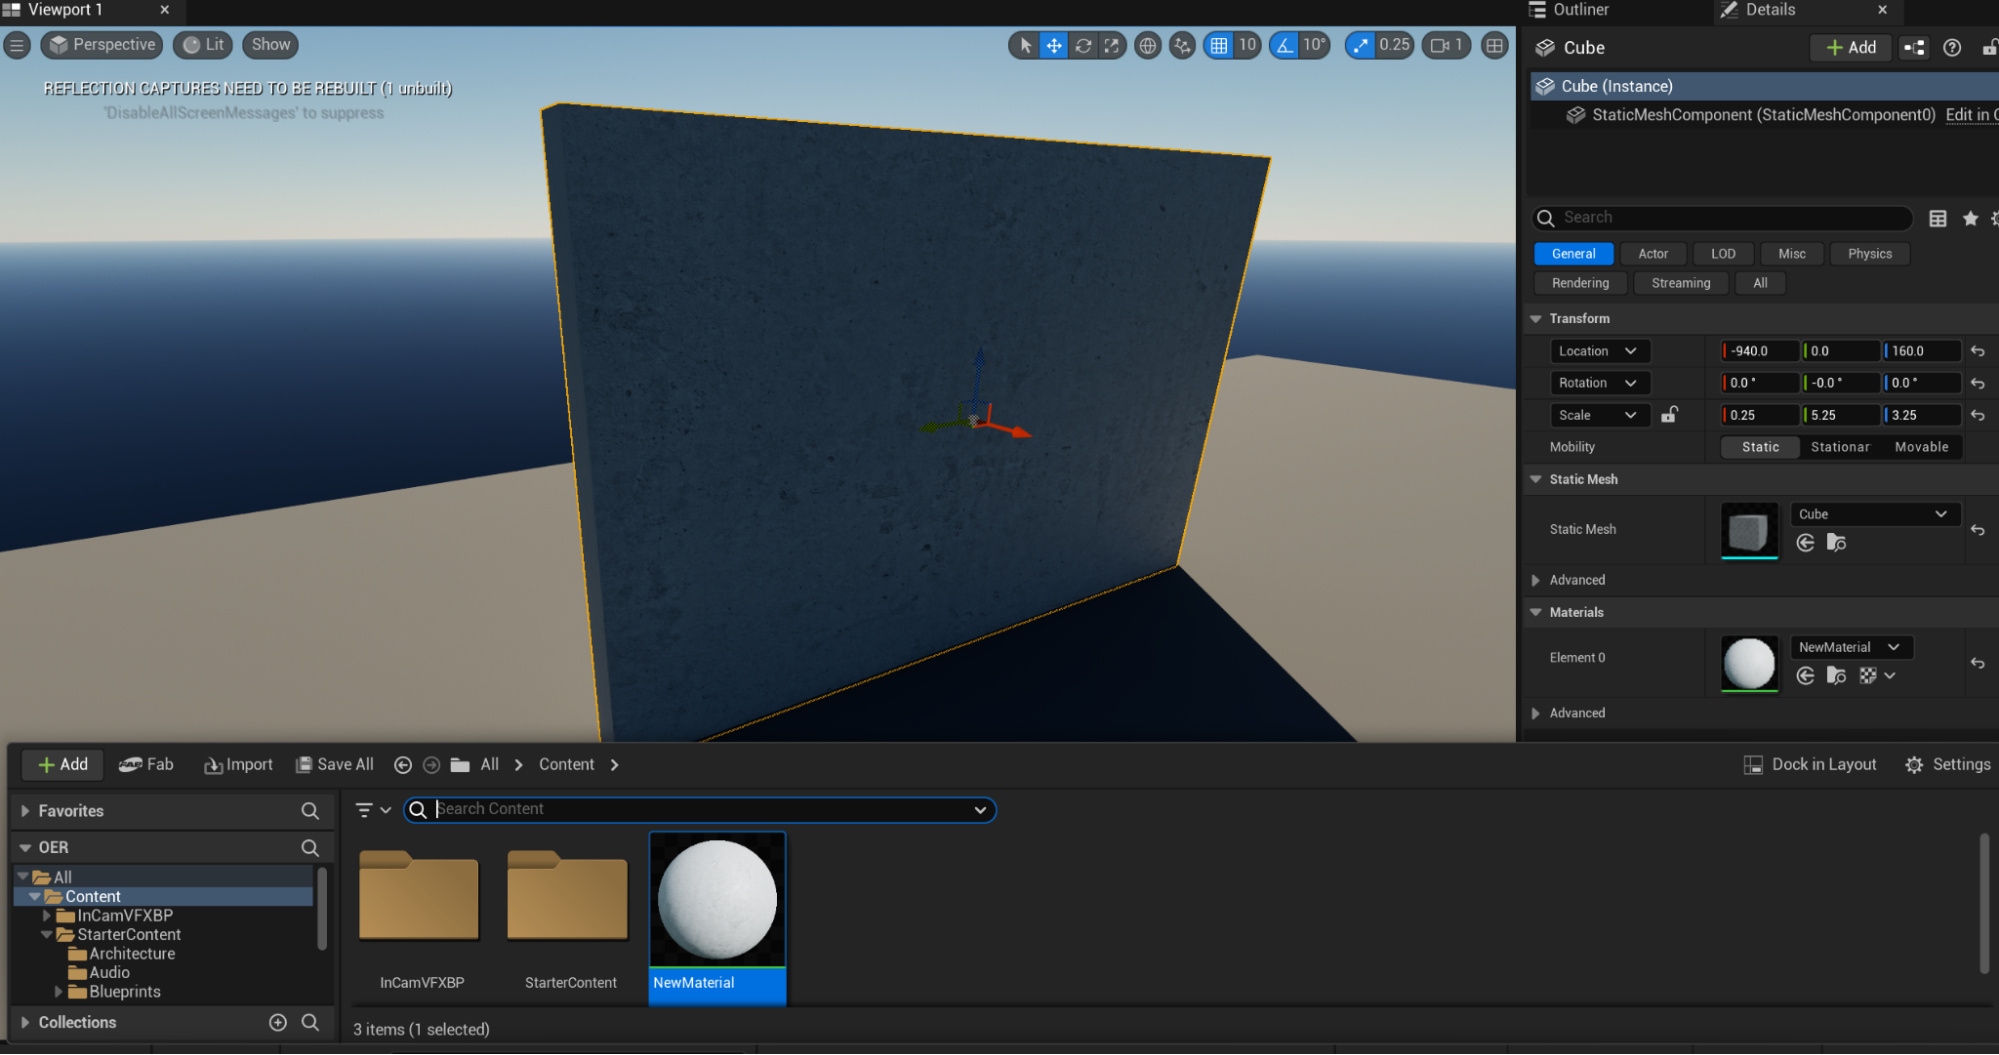
- Apply the Material:
- Drag the material from the Content Browser onto the wall model in the scene.
- If different parts of the wall need different materials, assign Material IDs in the modeling software and create material instances in UE5.
4.2.5 Lighting and Optimization
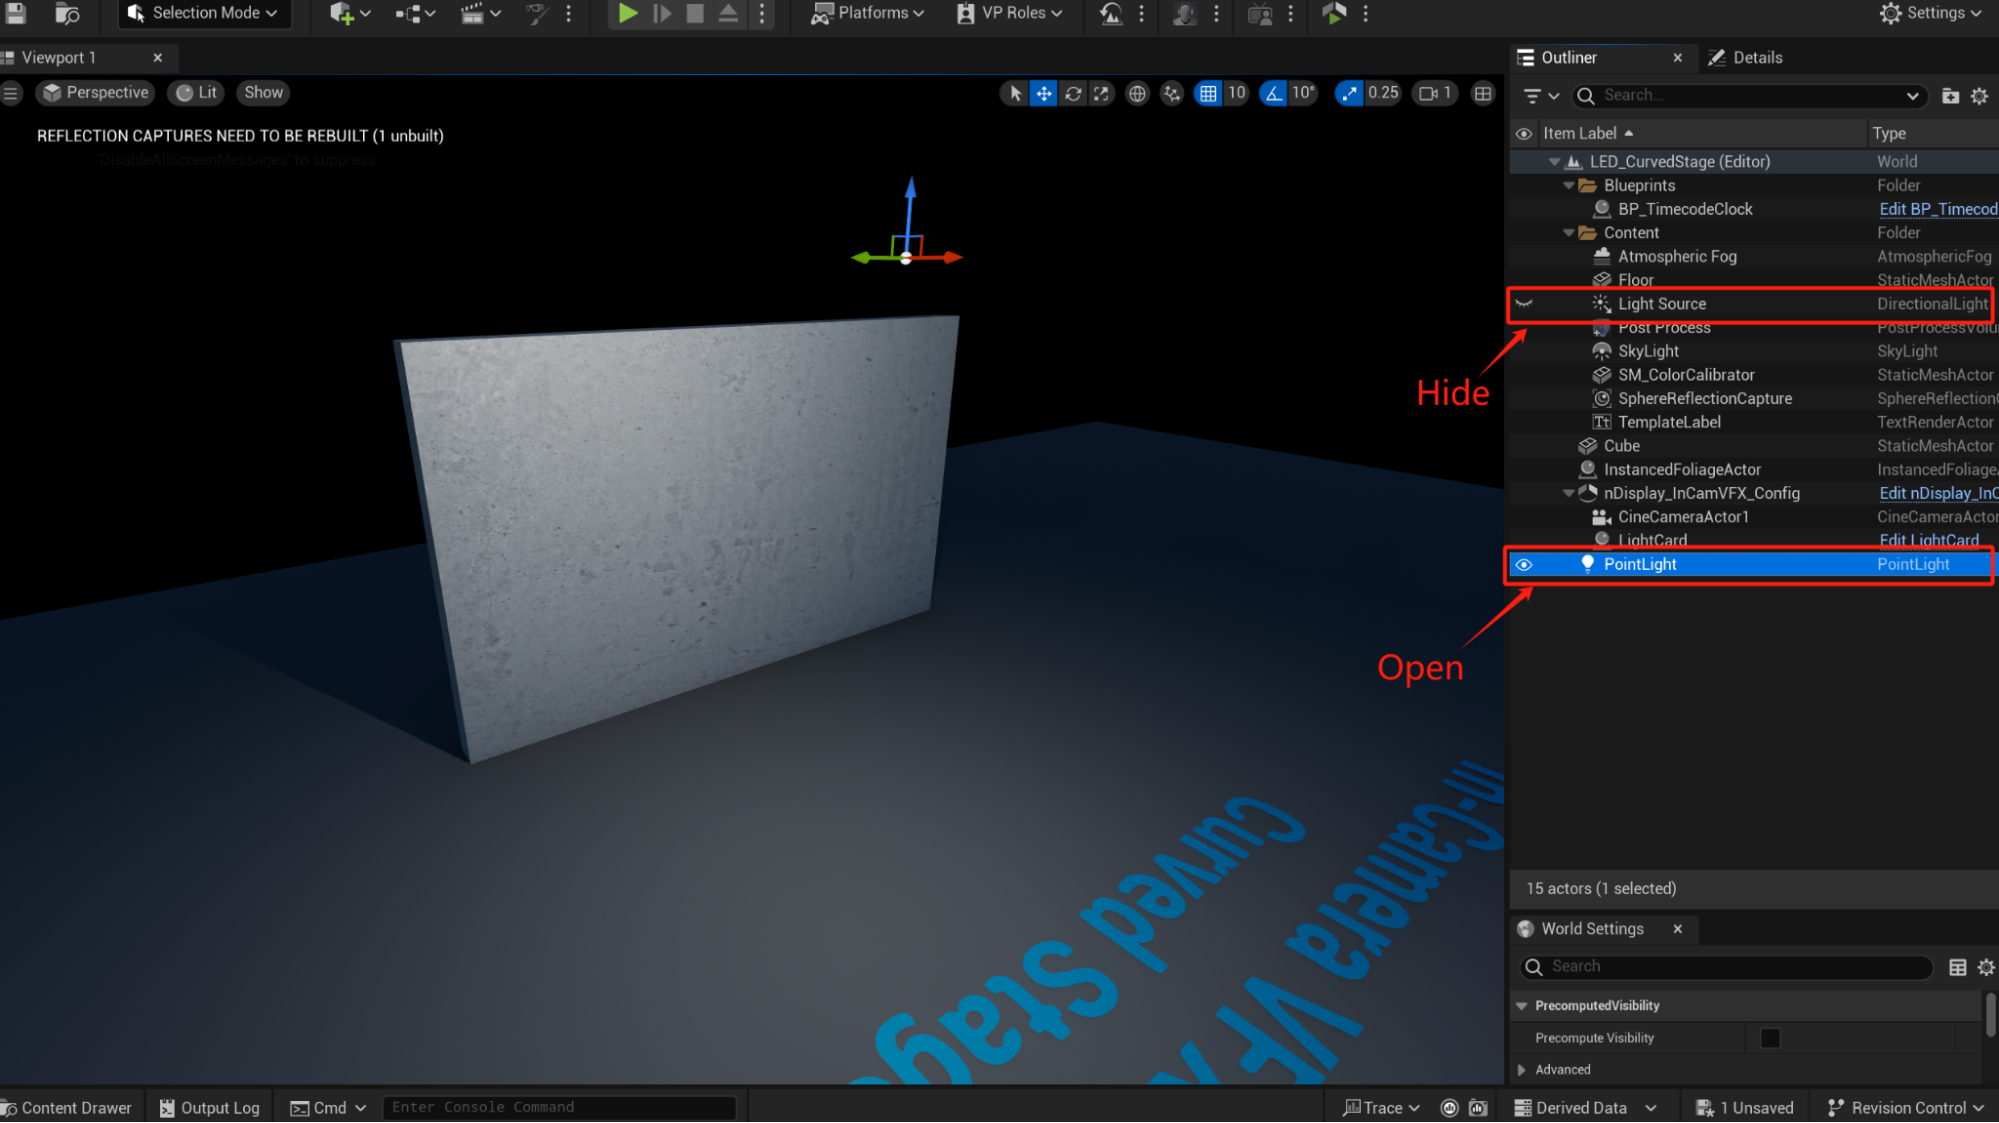
Add Lighting:
- Place light sources in the scene (e.g., Directional Light, Point Light).
- Adjust the light’s intensity and color to ensure the wall material displays correctly.

Optimize Performance:
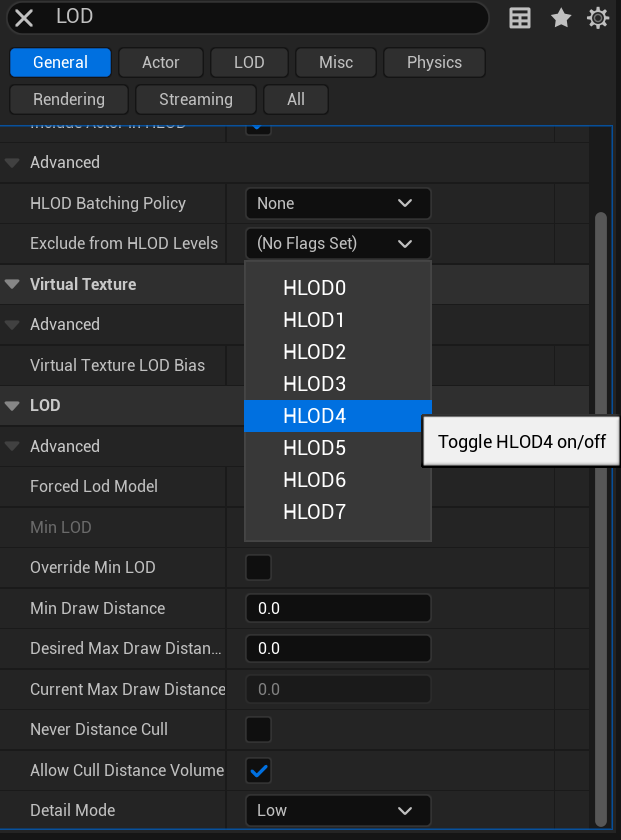
- Set up LOD (Level of Detail) for the wall model to reduce polygon count at a distance.
- Use Occlusion Culling to optimize rendering performance (Enabled by default in UE5).
- Set up LOD (Level of Detail) for the wall model to reduce polygon count at a distance.
4.2.6 Testing and Adjusting
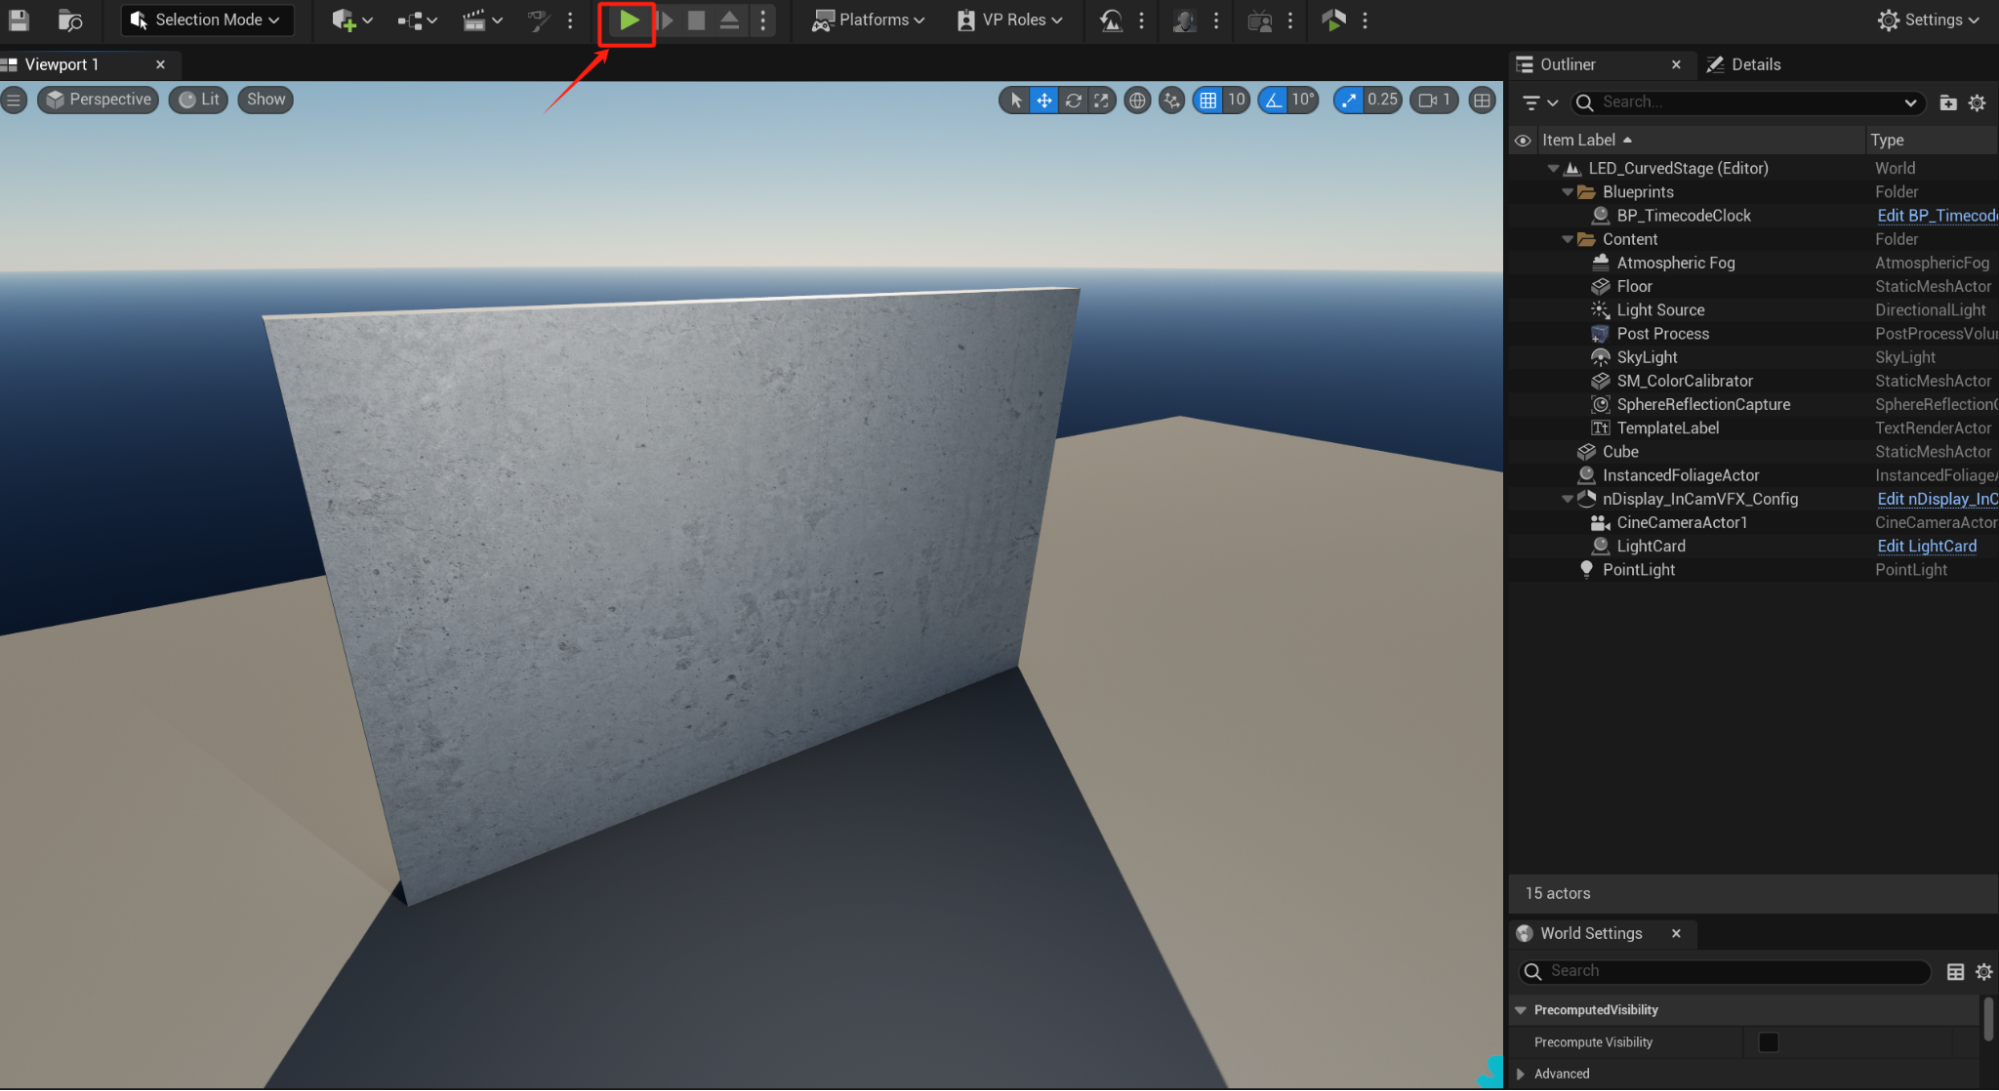
- Run the Scene:
- Click the “Play” button in the toolbar to test the scene.
- Check the wall’s position, material, and lighting effects.
- Adjust Details:
- Based on the test results, adjust the model’s position, rotation, or scale.
- You may import some 1m1m1m blocks to check if your models are at the right scale.
- Modify material parameters or replace textures to improve visual quality.
4.2.7 Saving the Project
- Save the Scene:
- Click the “Save” button in the toolbar to save the current scene.
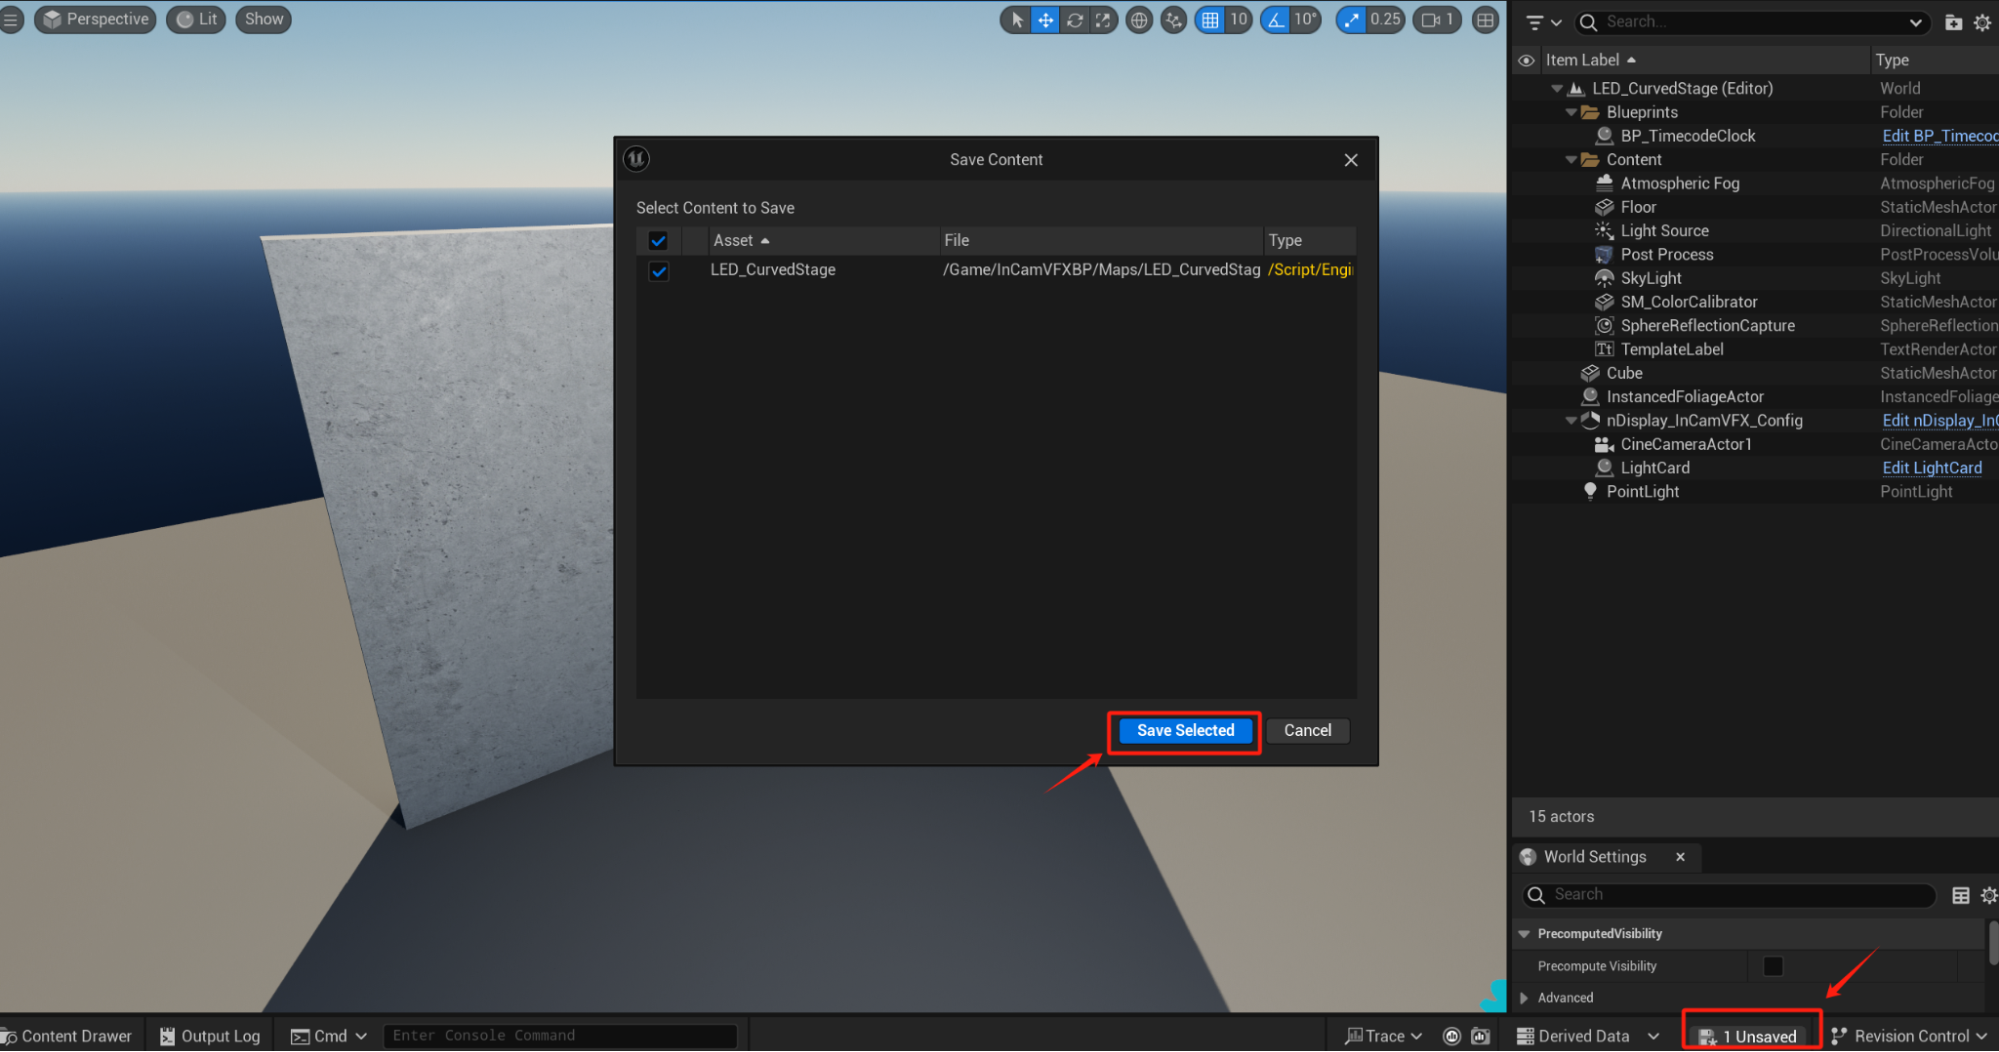
- Click the “Save” button in the toolbar to save the current scene.
- Backup the Project:
- Regularly back up project files to avoid data loss.
4.3 Additional Tips
Using BSP Tools for Quick Wall Creation: In UE5, you can use BSP (Binary Space Partitioning) tools to quickly create simple walls. In the Modes panel, select “BSP,” drag out a box, adjust its size, and convert it to a static mesh.
Using Quixel Bridge for High-Quality Materials: Import free Megascans materials via Quixel Bridge to quickly enhance the wall’s visual quality.